

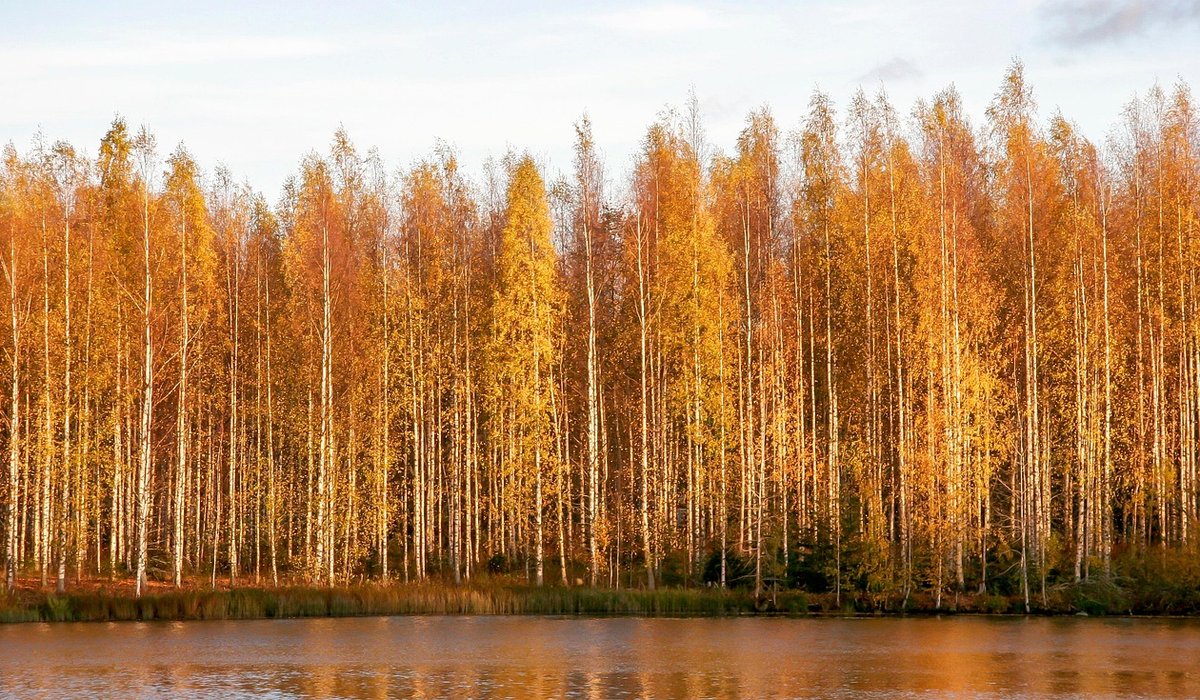
Woodland planting has its own logic. Under a canopy of birch, oak or hazel, the soil is shaded, cool and constantly receiving a slow trickle of leaf litter. Trees and shrubs evolved with that arrangement, and bark chippings are the closest thing we can buy to copy it. Spread across the surface, they hold moisture in the root zone, keep the soil temperature steadier through frosty nights, and stop annual weeds from germinating in the first place.
The great virtue of bark is its pace. It breaks down slowly, releasing nutrients over two or three years rather than in a single flush, which suits woody plants perfectly. You are not pushing soft, sappy growth that will flop or get scorched; you are simply feeding the soil life quietly while it gets on with the business of recycling.
Bark chippings also make life easier. Hoeing between closely planted shrubs is awkward work, and string trimmers near trunks are an invitation to damaged bark. A good mulch layer means far less of both.
Not all bark is equal, and the differences matter more than most garden centre labels suggest. A few things to look for:
Pine and other conifer barks are slightly acidic, but the effect on soil pH under a layer of mulch is small. Do not lose sleep over it unless you are mulching a truly lime-loving plant.
This is the step most people skip, and it is the one that decides whether the mulch helps or hinders. Bark chippings are excellent at keeping moisture in, which means they are equally good at keeping it out. Spread over dry ground, they form a thatch that rain struggles to penetrate, and the soil beneath stays stubbornly parched for months.
So water thoroughly before you spread. Ideally, mulch the day after decent rain, when the top 15 centimetres or so is properly damp. If the weather has been dry, give the area a long, slow soak with a hose or several watering cans, wait an hour, then check by pushing a finger into the soil. Once you are satisfied, spread the chippings, then water the mulch surface lightly to settle the pieces and stop them blowing about on a windy day. Newly planted trees and shrubs deserve this treatment every time.
Five to eight centimetres is the sweet spot for woody planting. Thinner than five and weed suppression becomes patchy; thicker than eight and you risk smothering shallow roots, encouraging waterlogging and creating a barrier that roots eventually grow up into.
Spread the chippings evenly across the root zone to the drip line, or a little beyond where the canopy casts its shadow. That is where the feeding roots actually are. Then keep a clear collar of five to ten centimetres around every trunk and stem. Never pile mulch up against bark in a cone — it traps moisture, invites rot and hides problems such as suckering or damage. If you have inherited a mulch volcano, pull it back now.
Do not dig chippings into the soil. They belong on the surface, where they can weather, feed the worms and be drawn down naturally.
Bark chippings suppress annual weeds beautifully, but they will not defeat perennials. Ground elder, couch grass, bindweed and creeping buttercup simply push through. Clear these by hand before mulching, getting out as much root as you can, and expect to pull the odd survivor for a season or two.
Keep mulch clear of low-growing herbaceous plants, self-seeders and alpines, which it will smother as readily as weeds. Around the edges of a woodland border, a thin scattering of chippings looks natural; in the middle of a drift of hellebores, leave the soil bare.
Wildlife will take an interest. Blackbirds and squirrels scratch through the surface, toads and beetles shelter underneath, and slugs enjoy the damp. If slugs are a real problem, keep the layer a touch thinner near vulnerable plants and try to encourage the predators that feed on them. Fungi pushing up through the mulch are a sign of healthy decomposition, not disease. Leave the fruiting bodies to do their work.
A layer of chippings shrinks by roughly one to two centimetres a year as it breaks down and is worked into the soil by worms. Top it up every year or two with a further two to three centimetres, but check the existing depth first — there is no point building an ever-deepening layer. Rake off any matted leaves if you want a tidier look, or simply let them settle into the mulch and add to it.
As you top up, glance at tree ties, stakes and the base of trunks to make sure nothing is buried that should not be. With that small amount of attention, a bark mulch will pay you back for years: fewer weeds, happier roots and a woodland floor that looks as though it has always been that way.

The Maplebirch An honest, everyday look at the things that make life a little better — with advice you can actually use.

The Maplebirch Simple, genuine and looked after with care — the kind of place worth returning to.

Field maple responds well to formative pruning in late winter. Remove rubbing branches and thin crowded growth to improve airflow.

Comments
ALina Kelian
19th May 2018 ReplyThe Maplebirch Simple, genuine and looked after with care — the kind of place worth returning to. ullamco laboris nisi ut aliquip ex ea commodo consequat.
Rlex Kelian
19th May 2018 ReplyThe Maplebirch Written for people who value the details, and want honest guidance they can trust. ullamco laboris nisi ut aliquip commodo.
Roboto Alex
21th May 2018 ReplyThe Maplebirch An honest, everyday look at the things that make life a little better — with advice you can actually use. ullamco laboris nisi ut aliquip ex ea commodo consequat.